Ever since Apple famously dropped Google Maps and instead used their own Maps app, they’ve come under a lot of fire for discrepancies in the data – such as incorrect landmarks (street names, places, etc) and missing or incorrectly rendered data – for example famous buildings and bridges that look completely mangled up in 3D mode.
Thankfully, Maps on iOS has come a long way, and is now arguably even better than Google Maps ever was. Unsurprisingly, Apple has now also released a Mac OS X version that comes preinstalled with Mavericks – with pretty much the same functionality, but of course perhaps even more useful on the big screen.
The nice thing about OS X Maps is that it’s used by all the built-in apps such as Calendar, so anywhere you see a map link, it should now launch the Maps app.
Launch Maps
To launch Maps, click the icon on your Dock (shown in the screenshot below) or just type Maps into Spotlight (Cmd-Spacebar) to find it.

It’s always better to view the app fullscreen, so if it’s not already maximised, tap Ctrl-Cmd-F to enter fullscreen mode. The view should be immediately familiar – you’ll notice a clean interface and the map shown at your current location.
Navigation
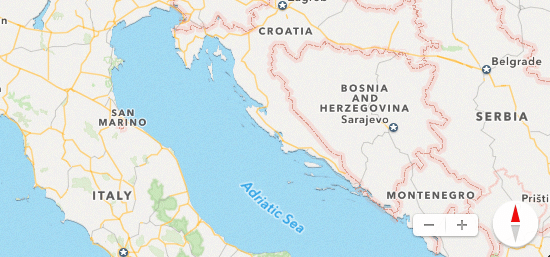
The beauty of Maps on the Mac is that, just like the iOS version, navigation is a doddle – if you have a trackpad then it will be very familiar to those used to iOS – 2 fingers moves the map around (or click and hold to drag), the pinch gesture can be used to zoom in/out and rotate, and there’s also a double-click option to zoom in on the point where your cursor is.
At the lower right, there are also zoom in/out buttons and compass showing your orientation.
And just like iOS Maps, there’s the three de facto viewing modes – Standard, Hybrid, and Satellite:
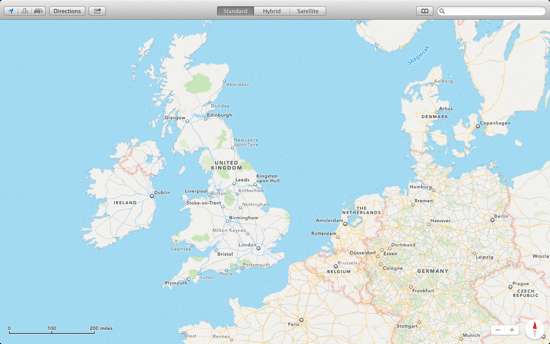
Standard mode looks like this:
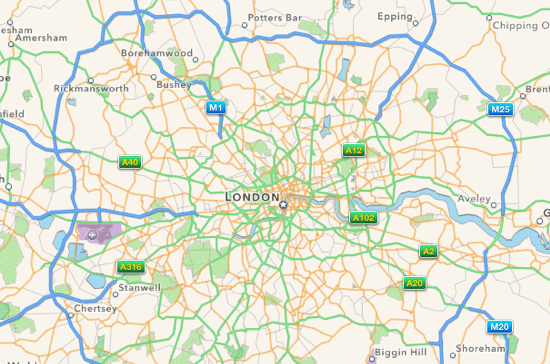
Hybrid mode adds roads and other markings combined with the satellite view:
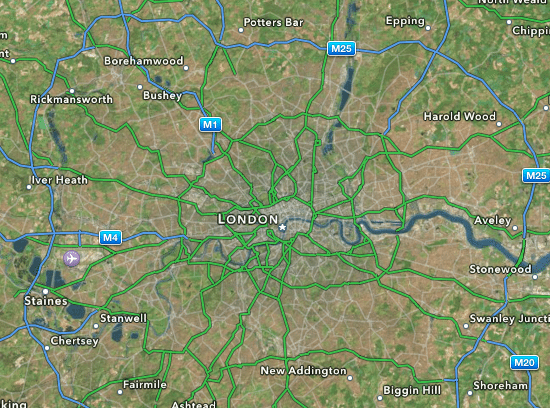
And Satellite mode is unsurprisingly a satellite-only version, as shown below:
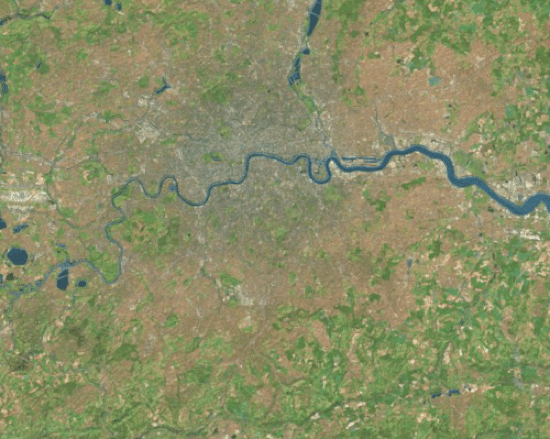
This should already be fairly familiar to anyone (and that’s just about everyone these days) who’s ever used a mapping app, but it’s nice to see it implemented so well and graphically rich (with intuitive navigation) on the Mac.
3D Flyover Mode
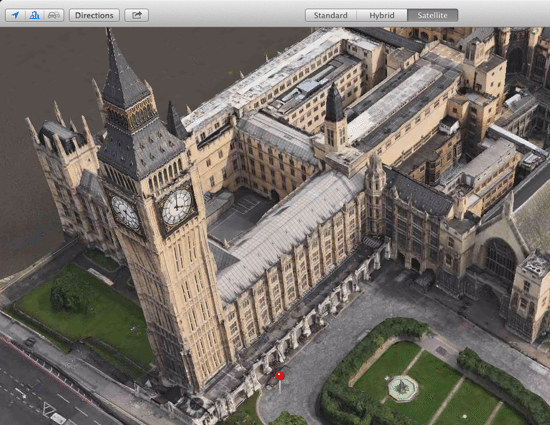
Flyover mode is one of the great new features of Maps. By using the small blue Building icon at the upper left, if you’re close enough to a feature and are viewing in Satellite mode, you’ll see a proper 3D render of the place in question:

Search
Finding nearby places and points of interest is a breeze in Maps – just place your cursor in the Search field in the top right (or use Cmd-F) and start typing. As you type, any matches (such as landmarks, addresses and businesses) are automatically shown. Selecting an item will immediately take you to the correct location, highlighted with a pin.
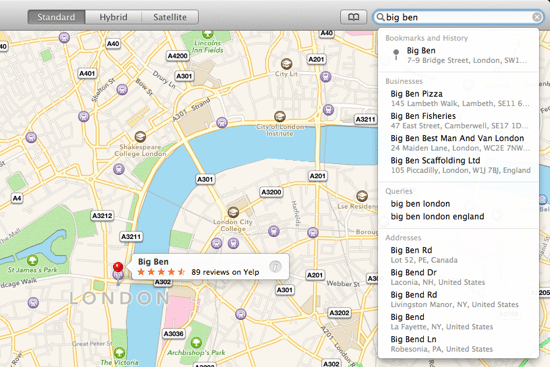
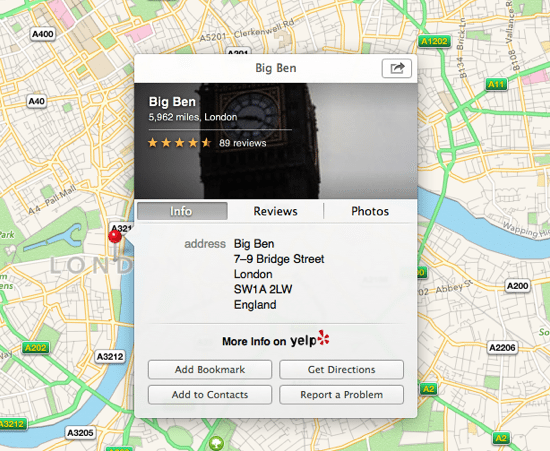
By clicking on the pin, you can view even more detail about the specific item selected, along with various options such as Add Bookmark, Add to Contacts and Get Directions.
Sharing
There’s even a share button, which when clicked gives you all the usual sharing options (such as Facebook and Twitter):
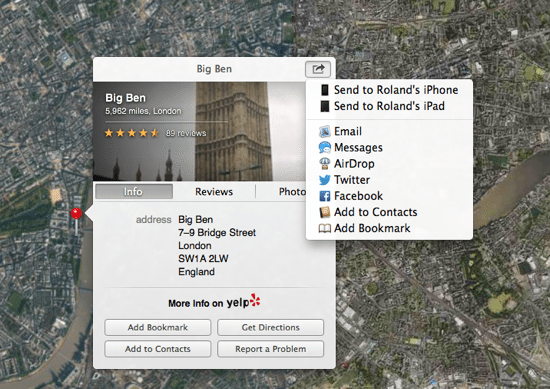
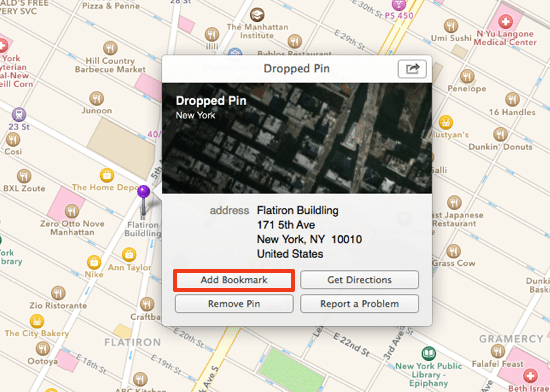
Sharing is also possible from the main menu bar – at any point just hit the Share button and choose one of the options.
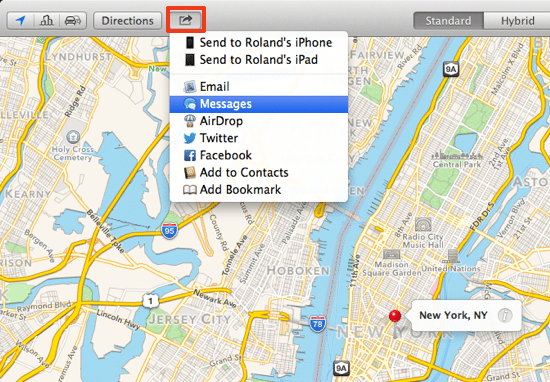
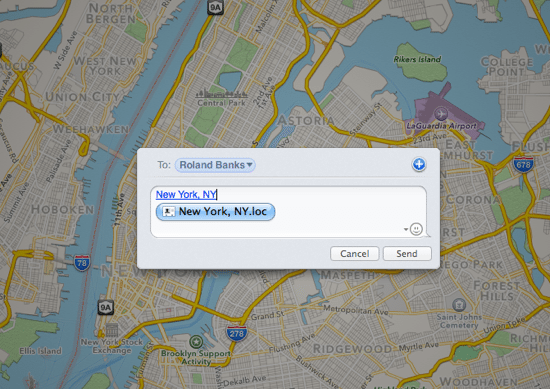
For example, if sending by Messages, you’ll see a popup that prompts you to enter the recipient details:
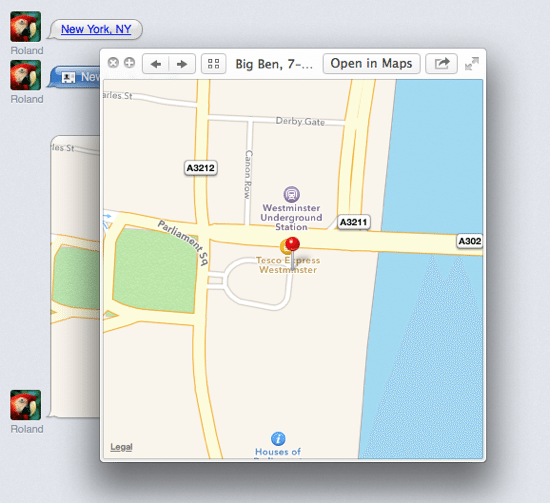
If you’ve received a map link from another device (such as an iPhone or iPad), you can also view the map as a preview in Messages, or open in the full Maps app:
Bookmark
It can be handy to save places that you frequently visit (such as friends’ addresses) in your Bookmarks. To view all your current bookmarks, just click on the Bookmark icon to bring up the current list. There’s also a search bar at the top if you have a lot in the list.
Selecting any of the bookmarks will take you straight to the relevant location on the map.
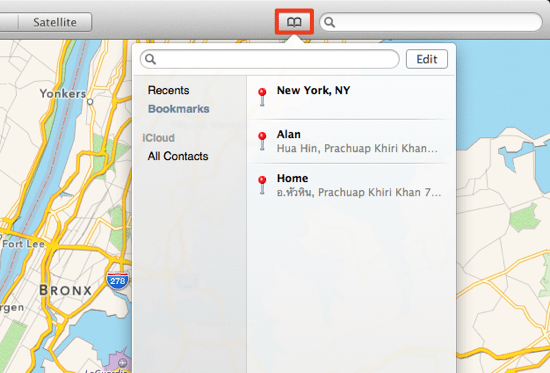
Adding bookmarks in the first place is just as easy:
1. Right-click anywhere on the map and select Drop Pin
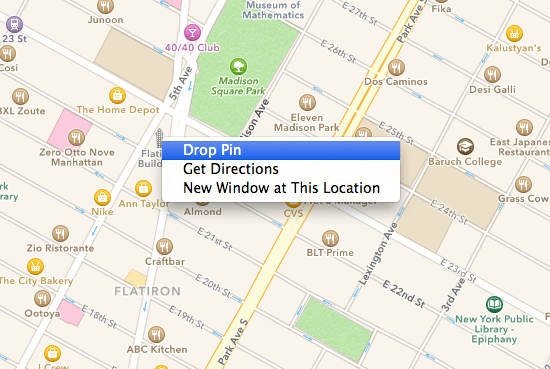
2. Click on the pin to open the popup menu, then click Add Bookmark

Get Directions
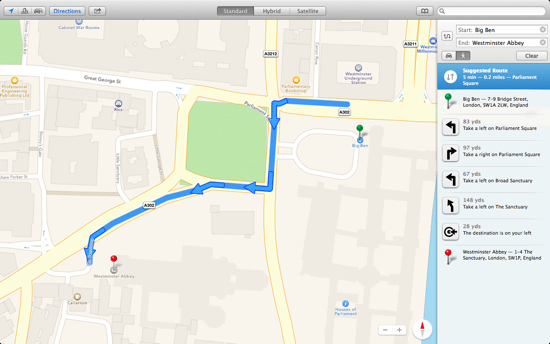
Getting directions between two places is very simple in Maps. Just click the Directions button to open a side panel – it’s here that you need to enter the start and end points, as well as select whether you’d like driving or walking directions. You’ll be presented with a straightforward and easy to follow guide with blue arrows illustrating the way.
Selecting any of the steps in the list highlights that particular step with a white arrow, and centres on the selected point.
The Verdict
There’s no doubt that Maps is a welcome addition to the first-party Apple apps that come with Mavericks. It’s certainly a great rival to Google and is of course much more integrated into the OS than Google Maps. It also works nicely with other applications and options such as sharing, and brings more consistency between iOS and Mac OS X.
Overall, Maps is one of those apps that you’ll end up using all the time and wonder how you ever did without it.


Add Comment