The Terminal is one of macOS’ most powerful utilities, but typing into the Terminal can be a time-consuming and frustrating process – especially since it’s not all that unusual for Terminal commands to stretch across multiple lines.
To make matters worse, if you reach the end of a command only to realise that you made a typo or spelling mistake somewhere along the way, then correcting that mistake can be a clunky process. Instead of moving the cursor around the Terminal using your mouse, you’re restricted to moving it one character at a time, using your Mac’s Left/Right arrow keys. Sometimes it’s quicker just to cut your loses and re-type the command from scratch!
But why bother typing the command at all?
By default, every command you run is stored in your Terminal’s history. Assuming that you’ve ran this command at least once before, you can re-run the command by finding it in your Terminal’s history log, and then pressing the ‘Enter’ key on your keyboard.
In this article I’m going to show you how to run long, complex commands with ease, by searching your Terminal history.
How to search in your Mac’s Terminal
The quickest way to search your Terminal history, is with a ‘reverse-i-search’ command:
- Launch the Terminal application.
- Press the ‘Control + r’ keys on your keyboard.
- The Terminal should now update to display the ‘reverse-i-search’ command. Start typing the command you want to search for.

- As you type, Terminal will offer different suggestions. Once it’s displaying the correct command, you can press the ‘Enter’ key on your keyboard to execute that command.
It’s possible that the Terminal may display a command that matches part of your search term, but isn’t the command you were looking for. For example maybe your search for “Sudo” returns sudo chflags hidden, when you were really looking for sudo mdfind “com_apple_backup_excludeItem = ‘com.apple.backupd.” If this happens, you can cycle through all the commands that match your search term, using the ‘Ctrl + r’ keyboard shortcut.
You can exit ‘reverse-i-search’ without executing any commands, using the ‘Ctrl + G’ keyboard shortcut.
Browse your Terminal history
Sometimes, you might know that you performed a certain task via the Terminal, but you have absolutely no idea about how you did it. If you can’t remember anything about the command, then how are you going to search for it?
One solution is to browse through your Terminal history using your Mac’s ‘Up/Down’ arrows, bringing up each command in turn, until you find the command you were looking for.
To view the previous command, keep pressing the ‘Up’ key; and if you get carried away and scroll past the command in question, then you can move “forward” in your Mac’s Terminal history, by pressing the ‘Down’ key.
View your Terminal’s entire history
The most time-consuming tasks are those that require you to enter multiple commands. If you know that you’ve completed this cycle at least one before, then it may be quicker to find this block of commands in your Terminal’s history, and then copy/paste them back into the Terminal window, rather than typing each command from scratch.
To view your entire Terminal history, type the word “history” into the Terminal window, and then press the ‘Enter’ key. The Terminal will now update to display all the commands it has on record.
Deleting your Terminal’s history
If viewing the contents of your Terminal history has left you itching to wipe the slate clean (perhaps you’ve spotted your password in one of the commands, or lots of misspelled commands) then you can delete your Terminal history.
To delete the history for your current Terminal session, run the following command:
History -c
To permanently delete your entire history, enter the following:
rm ~/.bash_history
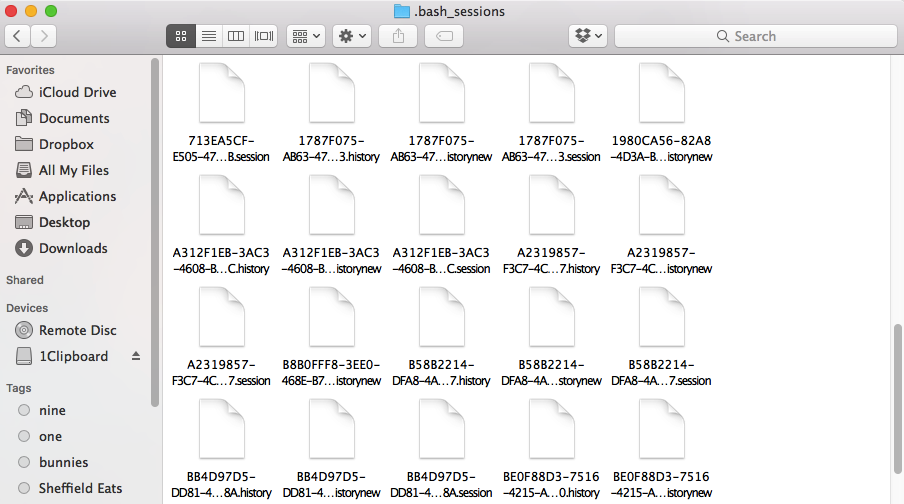
Alternatively, if you want to delete a specific command while preserving the rest of your Terminal history, then it’s possible to view this record as a series of TextEdit documents. However, macOS does create a separate document for each Terminal session, and uses a string of random number and letters to identify each session, which can make tracking down the correct TextEdit a time-consuming and frustrating process.
To browse these files:
- Open a new ‘Finder’ window.
- Select ‘Go > Go to Folder…’ from the Finder toolbar.
- Enter ~/.bash_sessions/ and then click ‘Go.’

To view and potentially edit any of the files in this folder, Control-click the file and then open it in TextEdit. At this point you can delete and edit commands, as if they were normal text.


Add Comment