All great movies take careful and creative planning that’s were storyboarding comes in, iMovie isn’t just great at editing your movies it is fantastic for storyboarding out your project.
When you have captured hours of footage but have no idea where to start when it comes to editing it into something beautiful Storyboarding in iMovie will make it really easy.
Storyboarding will help you break your raw footage down into scenes, Get your timing right and even decide what sort of shots to use (for example, close ups or wide angle shots)
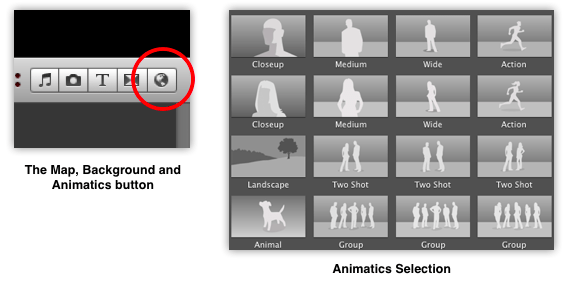
iMovies has built in ‘Animatics’ which are placeholders that can help you experiment to get the best timings and shots arranged before you start adding in your own video clips.
Animatics can be found by clicking the ‘Map, Background and Animatics button‘ in the toolbar below the viewer that can be found on the right side of your iMovie window.
I find Animatics really help when it comes to getting to grips with the timings of your project especially when it comes to adding music, Getting everything in sink will make sure your movie has that professional look and feel.
Animatics work just like video clips by just dragging and dropping them into the project browser, Once in the project browser you can adjust each animatics clip in the same way you would a video clip just move your mouse over the animatics clip and the ‘cog selection button’ will appear to allow you to adjust the timings.
![cog selector]()
Cog Selector Button
If you are new to storyboarding iMovie has a great project feature called a ‘Movie Trailer Project’ This is essentially a ready made project that has all the timings and shots set out for you and all you have to do is just drop in your own video clips.
It is fantastic for beginners it allows you to get used to how a storyboard works.
To get started on a Movie Trailer project
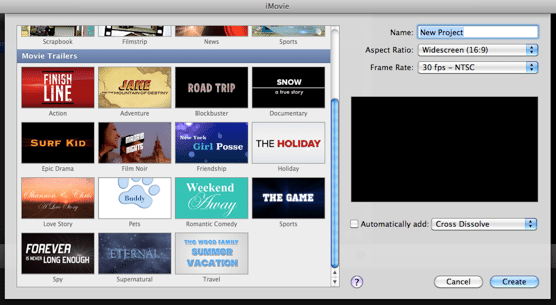
Go to File, Click New Project then you will see this drop down menu
![movie trailers themes without fade]() Movie Traler Themes
Movie Traler Themes
You will get a great selection of themes, Just select the one you like and iMovie will load it as a new project. Once loaded you will be presented with a tab like interface with three tabs to choose from ‘Outline, Storyboard and Shot List’
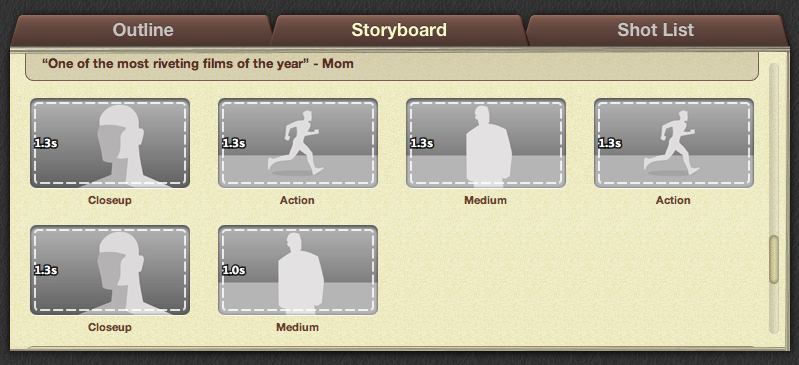
We will focus on the ‘Storyboard’ Tab
![Storyboard projects window]() Storyboard Tab within Project window
Storyboard Tab within Project window
Within the Storyboard Tab iMovie will break down the project into small scenes, This is good as a small project is the best way to start as it will help you get all the timings just right.
Each Animatics within the storyboard tab is a placeholder that you will replace with one of your own video clips, As described early you can adjust the timings of each Animatics placeholder by using the ‘Cog Selection button’
I would suggest playing around with different clips and timings till you get it the way you like it, Your project is personal so the default timings that are set by iMovie are just there as a guide so adjust them to your liking.
Storyboarding is all about experimenting and iMovie really does make it super easy.
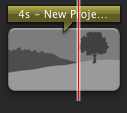
Once you have all you clips in place you can play your project from the top by moving your mouse over the first clip in your project and the ‘scrubber’ will appear once you have the scrubber where you want it just press the space bar to preview your completed project.
![Scrubber]()
Scrubber





Chris, thanks for posting this. I found it through Google. Very helpful. I am trying to experiment with creating a “kick-ass” video for use on a crowd-funding website I created that uses a WordPress crowd-funding plugin. I’m using FLowPlayer for the video skin and it’s being hosted on Rackspace Cloud Sites using their Cloud Files and CDN. I am slightly confused about the animatics because I don’t have many clips and I am using a combination of photos, text titles from iMovie, some graphic logos and screen grabs, and few clips (2-3). But at least from what you wrote I can get started with confidence since I am a graphic designer and not a film or video person. My goal is to make a crowdfunding iMovie video template so I can use it in multiple projects. Thanks!
Dante