Even if you feel like you’re most productive when you’re multi-tasking, you don’t want to get to the point where you have so many apps open that you seem to spend most of your time hunting down a particular window.
If this sounds familiar, then in this article I’m going to show you how to make your multi-tasking slightly less chaotic, by organizing your windows into multiple, self-contained desktops.
Create Multiple Desktops
You access the multiple desktop feature via macOS’ Mission Control. Depending on your model of Mac and how it’s setup, there’s several ways that you can access Mission Control:
- Press the ‘F3’ key on your keyboard, or use the ‘Control + Up’ shortcut.
- Select the ‘Mission Control’ icon in your Mac’s Dock (where available).
- Swipe upwards on your trackpad with three or four fingers.
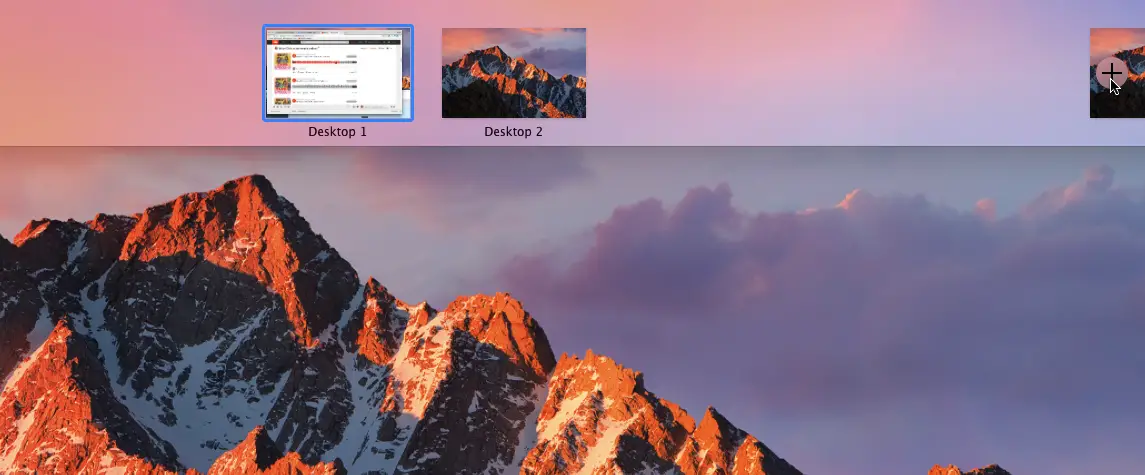
The main Mission Control window displays all your open tabs, applications and windows, but towards the top of the screen you’ll also find all your desktops. By default, macOS has a single desktop, which appears as a thumbnail in the Mission Control toolbar.
You can create additional desktops, by clicking the ‘+’ icon (where the cursor is positioned in the following screenshot).

Once you’ve created at least two desktops, you can switch between these desktops by selecting the corresponding thumbnail in the Mission Control toolbar. To switch back to your original desktop, simply launch Mission Control and then select ‘Desktop 1’ from the toolbar.
You can create as many desktops as you want by clicking the ‘+’ icon, for example you may want to create a desktop for work and a desktop for all those distractions that keep you away from work; or desktops dedicated to specific tasks such as a desktop for making notes and a desktop for working on your first draft.
Moving applications between desktops
Once you’ve created two or more desktops, you can launch applications in each desktop independently, for example if you switch to Desktop 2 and then launch Pages, then the Pages app will appear in Desktop 2 only.
You can also relocate applications that are already open, which is particularly useful if your original desktop has got out of control. For example, if you wanted to move an app from Desktop 1 to Desktop 2, then you’d need to:
- Make sure you’re currently viewing Desktop 1.
- Launch Mission Control.
- Find the application you want to relocate, and drag it onto the Desktop 2 icon.
Mastering Mission Control’s Multi-Desktop
Once you’ve got to grips with the essentials of creating and managing multiple desktops, there’s some additional tricks that can help turn you into a multi-desktop power user.
1. Switch between desktops with ease
Mission Control provides a hub where you can create additional desktops, and then drag and drop applications between these desktops. However, once you’ve finished with this prep work, why not cut out the middle-man and switch between desktops directly?
You can move to the “next” desktop in the series (i.e move from Desktop 1 to Desktop 2), by pressing the ‘Control + Right’ keys, and you can switch to the “previous” desktop (move from Desktop 2 to Desktop 1), by pressing the ‘Control + Left’ keys.
2. Assign applications to specific desktops
If you’ve created desktops for very specific purposes, then you might want to assign certain applications to each desktop, so that they always launch on their assigned desktop. This can also help ensure you don’t get distracted – even if you give into temptation and try to launch Safari from your “work” desktop, it won’t appear in this desktop if you’ve assigned it to your “distractions” desktop.
To assign an app to a specific desktop:
- Make sure you’re viewing the Desktop where you want to assign this application.
- Launch the application in question.
- Control-click the application’s icon in the Dock.
- Select ‘Options > This Desktop.’
If you want to restore the application’s default behaviour at any point, then simply repeat the above steps, but this time select ‘Options > All Desktops.’
3. Using Multiple Desktops with fullscreen mode
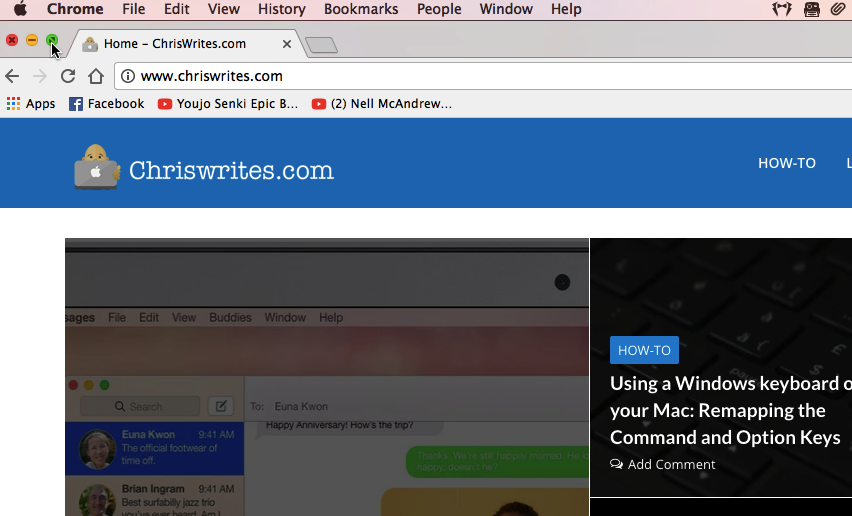
You can view most apps in fullscreen mode by clicking the little green icon towards that app’s upper-right corner (where the cursor is positioned in the following screenshot).

In fullscreen mode, the Mac menu bar, application toolbar and Dock all disappear, and the application window takes up every pixel of available screen space. This mode may give you a fullscreen experience, but it does make it difficult to switch between applications – unless you use Mission Control’s multiple desktop feature.
macOS treats fullscreen applications as stand-alone desktops. If you put an application into fullscreen mode and then launch Mission Control, you’ll see that this application appears in the toolbar, as though it’s an additional desktop.
By combining multiple desktops, fullscreen apps and keyboard shortcuts, you can switch between fullscreen applications with ease. Simply put two or more apps into fullscreen mode, and then switch between them by pressing ‘Control + Right/Left.’ Alternatively, you can place one app in fullscreen mode, and then have your ‘normal’ desktop, and switch between the two using the ‘Control + Right/Left’ shortcut.


Add Comment