Do you want to find out exactly how well your Mac is performing? Maybe you want to see how it compares to other machines with similar specifications, or maybe you’re curious about how much faster that shiny new Mac you saw on sale really is, compared to the one you have now?
Benchmarking is a way of measuring all aspects of your Mac’s hardware and software, such as disk speed, GPU performance, and graphic performance. This information is useful in all sorts of scenarios – in particular, it can help you get to the bottom of performance issues. After all, how are you going to improve your Mac’s performance, if you don’t even know what’s causing the problem?
One of the easiest ways of benchmarking your MacBook, is to download an app that’s designed to measure the part of the software or hardware that matters to you.
In this article I’m going to look at 5 apps that you can use to analyse all the different components that contribute towards your Mac’s overall performance. For the best results, download a few of these apps so you can perform a more in-depth analysis.
Before we get started, there’s a few things you need to bear in mind. As a general rule, whenever you run a benchmark test, make sure no other apps are running in the background as these will skew your results. It’s also worth noting that your results may vary from test to test, so for the most accurate results, run each test several times and then work out the average.
1. Blackmagic Disk Speed Test
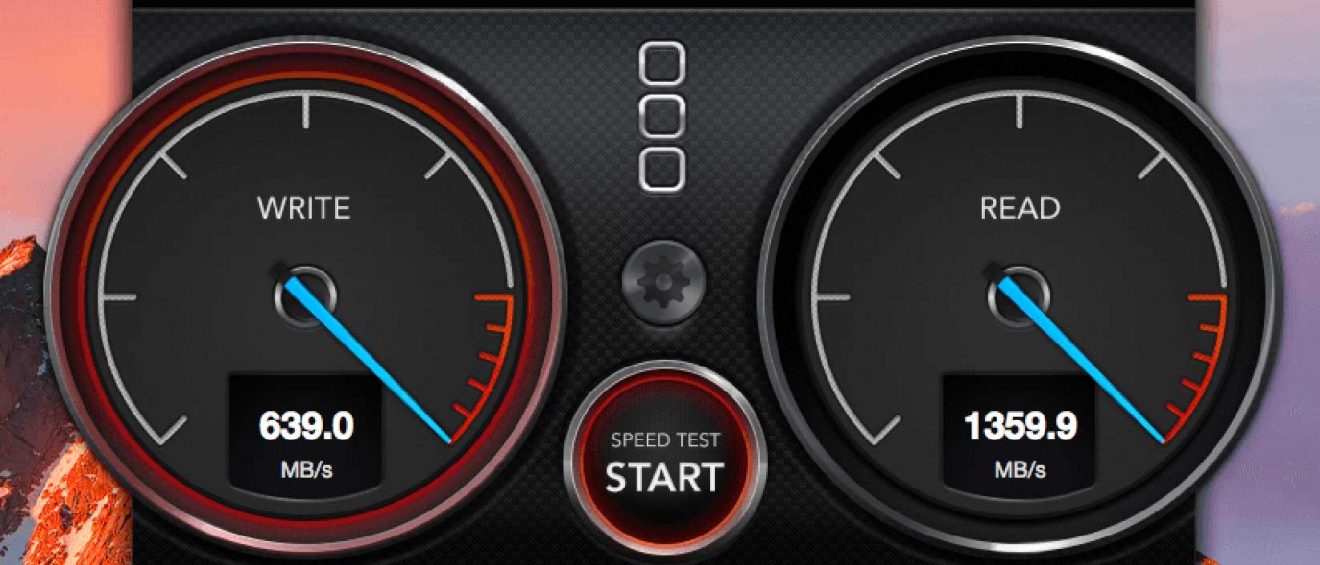
Free to download from the App Store, the Blackmagic Disk Speed Test measures your Mac’s disk read and write speeds to determine whether your hard drive can handle editing and playing various video formats. Although Blackmagic is primarily geared towards video performance, it can also be used to measure your disk speed in general.
Blackmagic is very easy to use, as it consists of a single window and a big ‘Speed Test Start’ button. If you have a single hard drive, simply click the ‘Start’ button and Blackmagic will write test your disk and display the results.
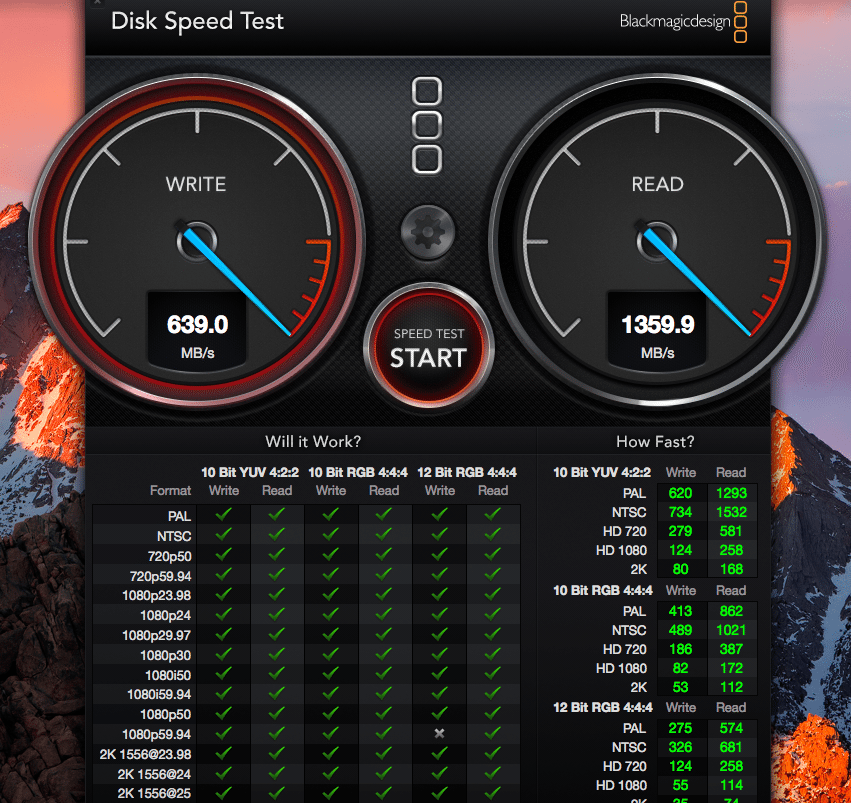 On the right, you’ll find your hard drive’s ‘Read’ speed, which gives you a sense of how fast apps and videos will load. On the left, you’ll find the ‘Write’ speed, which indicates how fast the things you create will be written to your hard drive.
If you have multiple hard drives, you’ll need to access Blackmagic’s settings by clicking the gear button, or by opening either the ‘File’ or ‘Stress’ menus in the app’s toolbar. You can then select which hard drive Blackmagic should test.
2. Cinebench
Cinebench comes with several tools for measuring your Mac’s performance, although it’s primarily aimed at putting your system’s CPU and graphics card through their paces. In fact, Cinebench is based on MAXON’s CINEMA 4D animation software, which is used for creating 3D content and movies. CINEMA 4D was used in Iron Man 3, Life of Pi, and Prometheus, making it a particularly powerful way of measuring your MacBook’s graphic capabilities.
Cinebench primarily tests two things:
- Graphics card performance. This test uses a complex 3D scene depicting a car chase to test how well your graphics card can handle almost 1 million polygons at once. To give you the most accurate overview of your Mac’s graphical capabilities, the scene features various special effects, including transparency, lighting, and bump maps. The results are measured in frames per seconds (FPS) – the higher your results, the better.
- CPU performance. Cinebench uses all of your system’s processing power to test how quickly your main processor can render a photorealistic 3D scene containing 2,000 objects, plus sharp and blurred reflections, shadows, procedural shaders, and much more. The results are then displayed in points – again, the higher the results, the better.
Cinebench isn’t available via the App store, but you can download it for free from the MAXON website.
3. Geekbench
Geekbench is a useful tool for measuring your Mac’s CPU performance and memory speeds.
Geekbench includes tests that were designed to simulate real-world situations, which makes it particularly useful for measuring how well your Mac can handle everyday tasks. Geekbench also features stress tests that can help you zero in on small problems you might not otherwise have been aware of.
You can try Geekbench for free by downloading it from the Primate Labs website. However, there’s a catch – the free “tryout mode” only runs 32-bit benchmarks. If you want to run any 64-bit tests you’ll need to purchase the full version from the App store, which costs £7.99.
Once you’ve installed the app, launch it, select your processor architecture and click ‘Run benchmarks.’
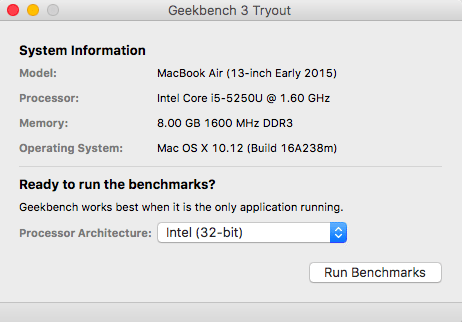
You can compare your results with other users, via the Geekbench Results Browser. Generally speaking, it’s always worth comparing your results, to see whether users on similar machines are getting more out of their system than you, which may suggest there’s a problem with your Mac. It’s also handy if you’re considering purchasing a new MacBook, as it gives you an idea of the kind of performance you can realistically expect from different models and hardware.
4. NovaBench
NovaBench is a free benchmarking suite that measures your computer’s capabilities, including RAM, graphics, disk speed, and CPU performance.
You can download NovaBench for free through the App Store. To run a test, simply launch NovaBench and click the ‘Start Tests’ button. NovaBench will then run various tests and display the results of each test, along with an overall ‘NovaBench Score’ – the higher the number, the better!
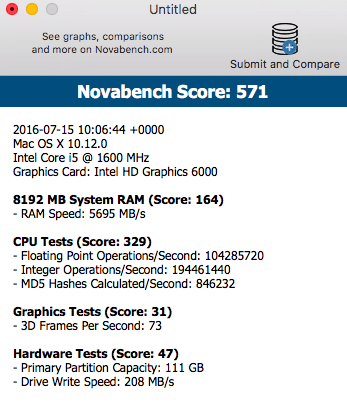
You can share these results with others by tapping the app’s ‘Submit and Compare’ button. And,to see what results other users have been getting, be sure to check out the NovaBench Results Database.
5. Count It
Recording game performance is something that’s traditionally been difficult on a MacBook. The Steam beta did introduce an optional Frames Per Second (FPS) counter that gave Mac users the ability to see their FPS, but this counter had two major limitations: firstly, it only worked with the Steam platform, and secondly it could only display FPS, not record it.
Count It is an app that aims to remove both of these limitations, by letting you see and record your FPS, regardless of platform. Count It works with a wide variety of platforms including GoG Galaxy , MacGameStore , Battle.net and Steam.
You can try Count It for free, although you do need to register with your email address. Once you’ve registered, you’ll receive a confirmation email. Simply follow the instructions in the email to download and install Count It.
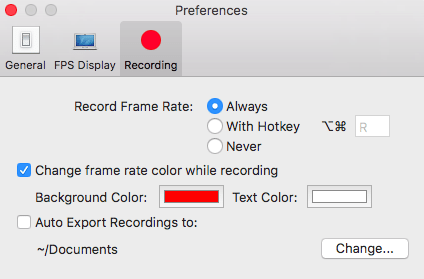
Note that Count It will display your FPS in the form of a graph, but it won’t record this information by default. To record your FPS stats, launch Count It and then select ‘Count It’ from the toolbar, followed by ‘Preferences.’ Select the ‘Recording’ tab, then set ‘Record Frame Rate’ to either ‘Always’ or ‘With Hotkey.’
There are several ways you can start tracking a game’s FPS, but one of the easiest is to launch the game you want to record, then in the bottom-left of the Count It window, click the ‘+’ icon and select ‘Running.’ Find the game you want to use and click ‘Add.’ Make sure the game is selected in the Count It window, then click ‘Start.’ Count It will then start recording the frame rate.
If you’re curious about how well a particular game will run on your Mac, you may want to check out the Mac Gamer HQ website, as they’ve put together a helpful performance database containing Count It benchmarks for different games and machines – perfect if you’re unsure whether your computer can handle a particular game!




Add Comment