Occasionally, Apple releases important firmware upgrades for the Mac which help to resolve critical hardware issues or simply add support for new features. Firmware can be considered as the system beneath the operating system, as it provides more lower-level functionality for your Mac, and it actually resides on a memory chip rather than being read stored on the disk.
It’s vital that you keep your Mac’s firmware right up to date. Mac owners are extremely lucky, because Apple makes it particularly easy to keep everything up to date – in contrast, most PC owners never update their firmware, either because it’s too complicated (it’s not usually built into Windows) or their machine doesn’t come with any software to automatically check.
This article describes how to check and update the firmware on your Mac.
Update Your Firmware The Easy Way
Luckily, the normal Software Update mechanism that most Mac owners are already familiar with can be used to check and update your Mac’s firmware, since Apple distributes most updates that way.
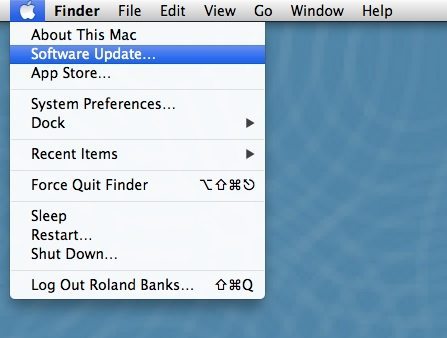
1. Go to the Apple menu in the main menu bar and choose Software Update
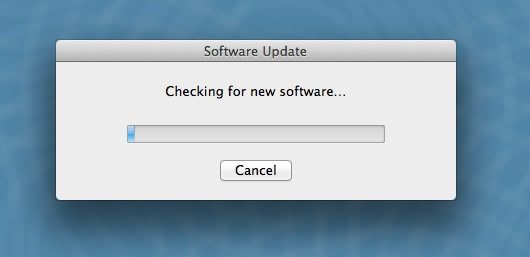
2. A small window opens whilst your Mac checks to see if any software updates are available. Note that applications you’ve installed from the App Store are not normally checked during this process – you have to update those separately
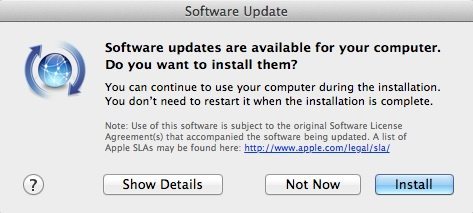
3. The next screen displays any software and firmware updates found. Click the Show Details button for more information about the available updates, or just select Install to get started. For firmware updates, it will also be necessary to restart your Mac, which should happen automatically. The restart process looks a little different to normal while the firmware is being updated, after which it will restart again and boot to the normal login screen
Download Updates Manually
Sometimes, if Software Update hasn’t already informed you that a firmware update is available, it’s worth keeping an eye on the Apple support pages which provide direct links to manually download the updates themselves.
The update process is as follows:-
1. Check which firmware updates apply to your particular Mac. For example, the Apple support pages list the model each update applies to and the fixes contained within, such as resolving various network, boot-up or other hardware issues
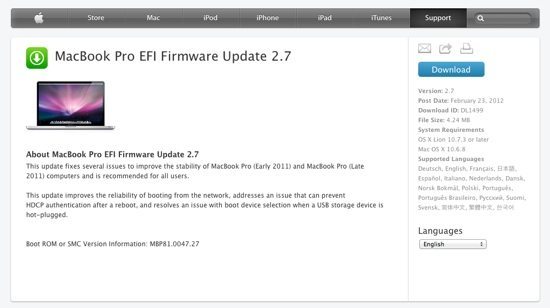
2. Once you’ve identified the relevant update on the Apple website, there’s a Download button to obtain the DMG file. Just click to save the file in your Downloads folder
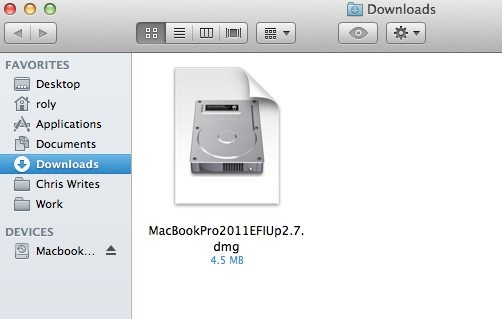
3. Now that you’ve downloaded the DMG file, double-click to open it’s contents. A new Finder window opens that contains a .PKG file – it’s this update that you need to install, by double clicking on the icon (or use right click and select Open). You’ll also notice that a disk drive icon appears on your desktop which can also be opened to get to the PKG file
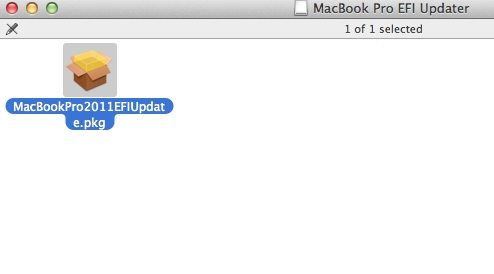
4. The firmware update process should now happen automatically without you having to do anything more. Just follow the on-screen instructions and your Mac will do the rest!


Add Comment